
To create a Supplier follow the steps as shown below.

The supplier master will have tabs as shown below. We will have a look at each tab in detail.

The Supplier Info will have the name of the supplier and address details. You can categorize your suppliers into different types based on your requirement.
Save the supplier master. This will also create an account head for the supplier in Chart of Accounts automatically.
The supplier master will be saved by the supplier name by default. You can save the supplier by supplier codes as well. For this go to :
Setup --> Global Defaults --> Buying and select Naming Series in "Supplier Master Created By" field.
Refresh the system.

The Contact Details tab will have a list of contacts for the supplier. Click on the Add Contact button to add more contacts. Likewise you will be able to add multiple address for that supplier.
The following screen will appear in a box asking you for details of the contact. Save the contact.

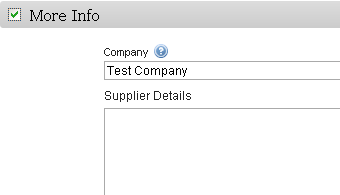
You can enter additional information about the Supplier in More Info tab.
The Transaction History tab will capture a list of Purchase Orders, Purchase Receipts and Purchase Invoices made for this Supplier.

The supplier master will have tabs as shown below. We will have a look at each tab in detail.
The Supplier Info will have the name of the supplier and address details. You can categorize your suppliers into different types based on your requirement.
Save the supplier master. This will also create an account head for the supplier in Chart of Accounts automatically.
The supplier master will be saved by the supplier name by default. You can save the supplier by supplier codes as well. For this go to :
Setup --> Global Defaults --> Buying and select Naming Series in "Supplier Master Created By" field.
Refresh the system.
The Contact Details tab will have a list of contacts for the supplier. Click on the Add Contact button to add more contacts. Likewise you will be able to add multiple address for that supplier.
The following screen will appear in a box asking you for details of the contact. Save the contact.
You can enter additional information about the Supplier in More Info tab.
The Transaction History tab will capture a list of Purchase Orders, Purchase Receipts and Purchase Invoices made for this Supplier.
Is it possible to create an organization that is both a supplier and customer at the same time? I think this scenario is quite common, not sure if it's possible in ERPNext.
ReplyDelete